The MasterClass Series #4
Shooting light trails – Sydney Harbour Bridge
Equipment
EOS 60D
EF24-70mm f/2.8L USM
EXIF
Focal Length: 63mm
Aperture: f /8
Shutter Speed: 13 secs
ISO: 100
Editing
Adobe Lightroom CC
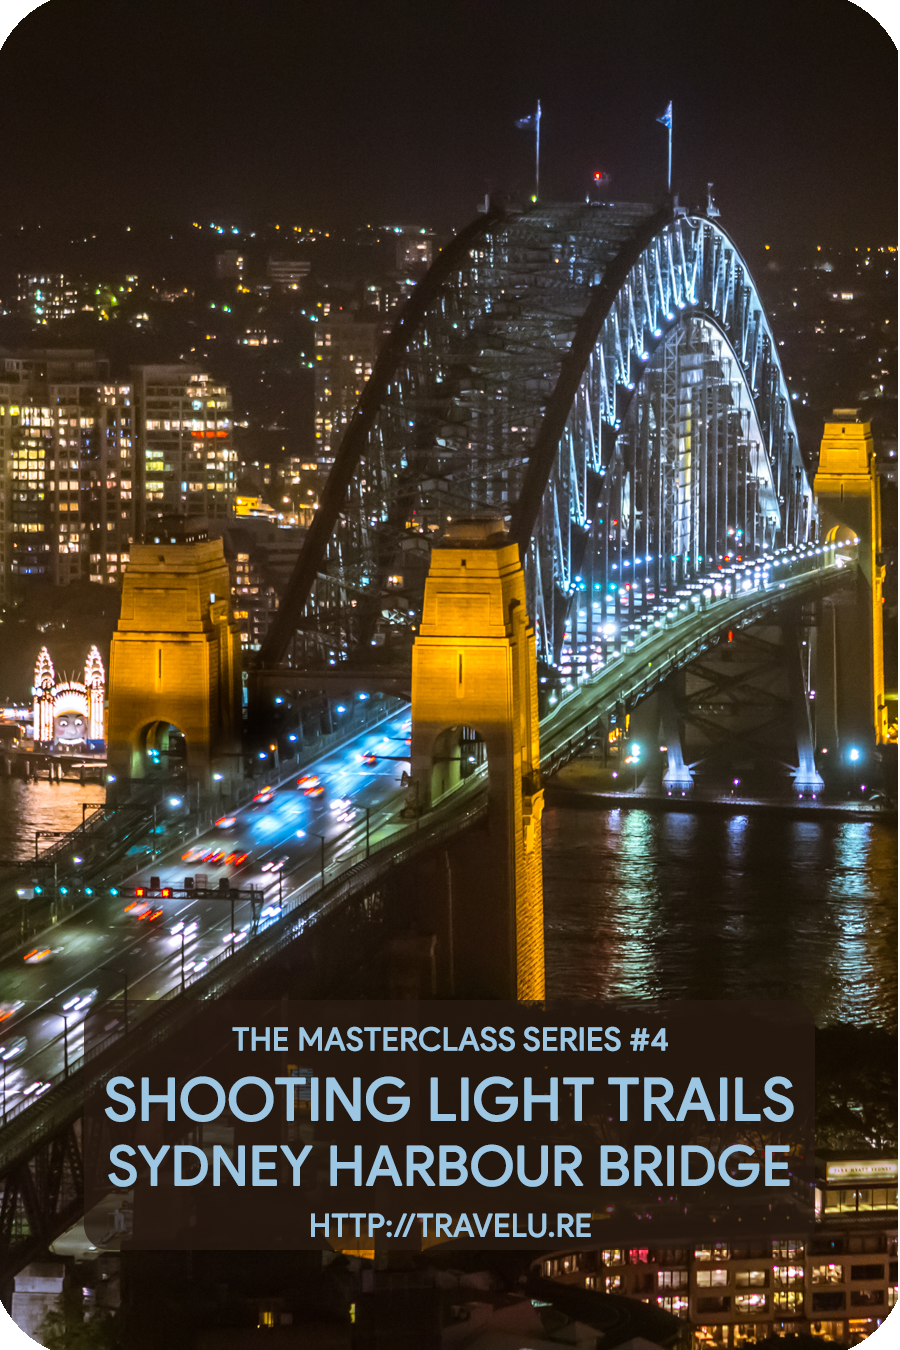
After last week’s capturing sunset colours challenge, let’s now look at how to capture light trails well.
The story
I was heading out to Sydney. It was my first visit to Australia. As a travel photographer, it was important to stay in a hotel that provided the ideal viewpoint for shooting the harbour bridge and Opera House.
I began research for a perfect vantage on Google Earth even before I applied for a visa. Shangri La in The Rocks came out tops. While booking my room, I made a specific request for a room with a view. My booking voucher was silent on my request. Another mail also got no response.
Soon, it was time to travel. Upon arrival, I repeated my request at the check-in counter. The check-in lady went through my booking and earlier requests. She realised the hotel had not responded. She made up for the lapse by upgrading me to a higher floor.
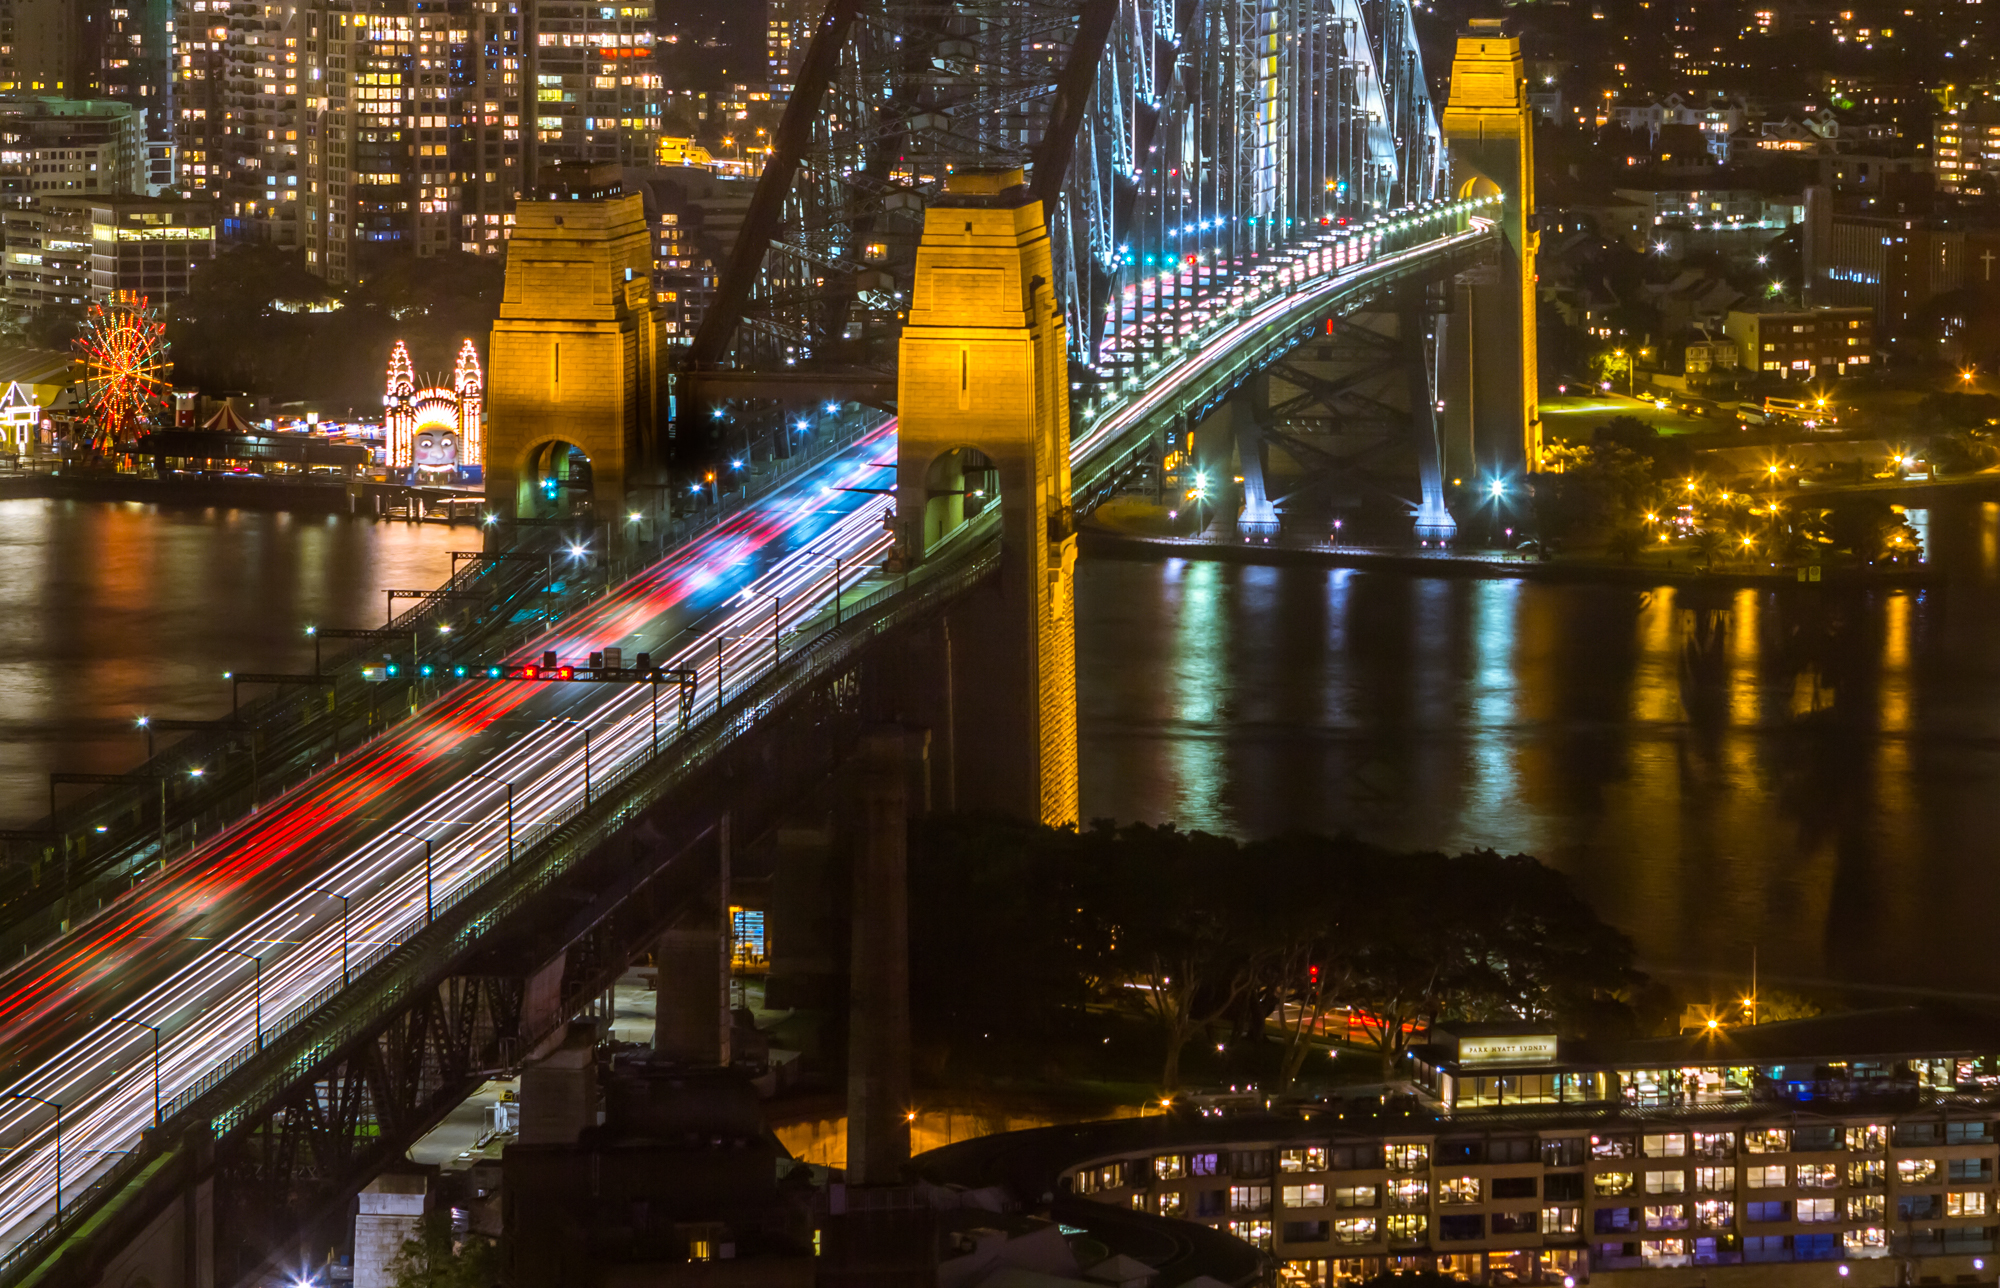
Light trails challenge
Despite having the best view, I faced two challenges. First, the hotel windowpane with light glare and reflections. Second, capturing smooth light trails covering the bridge.
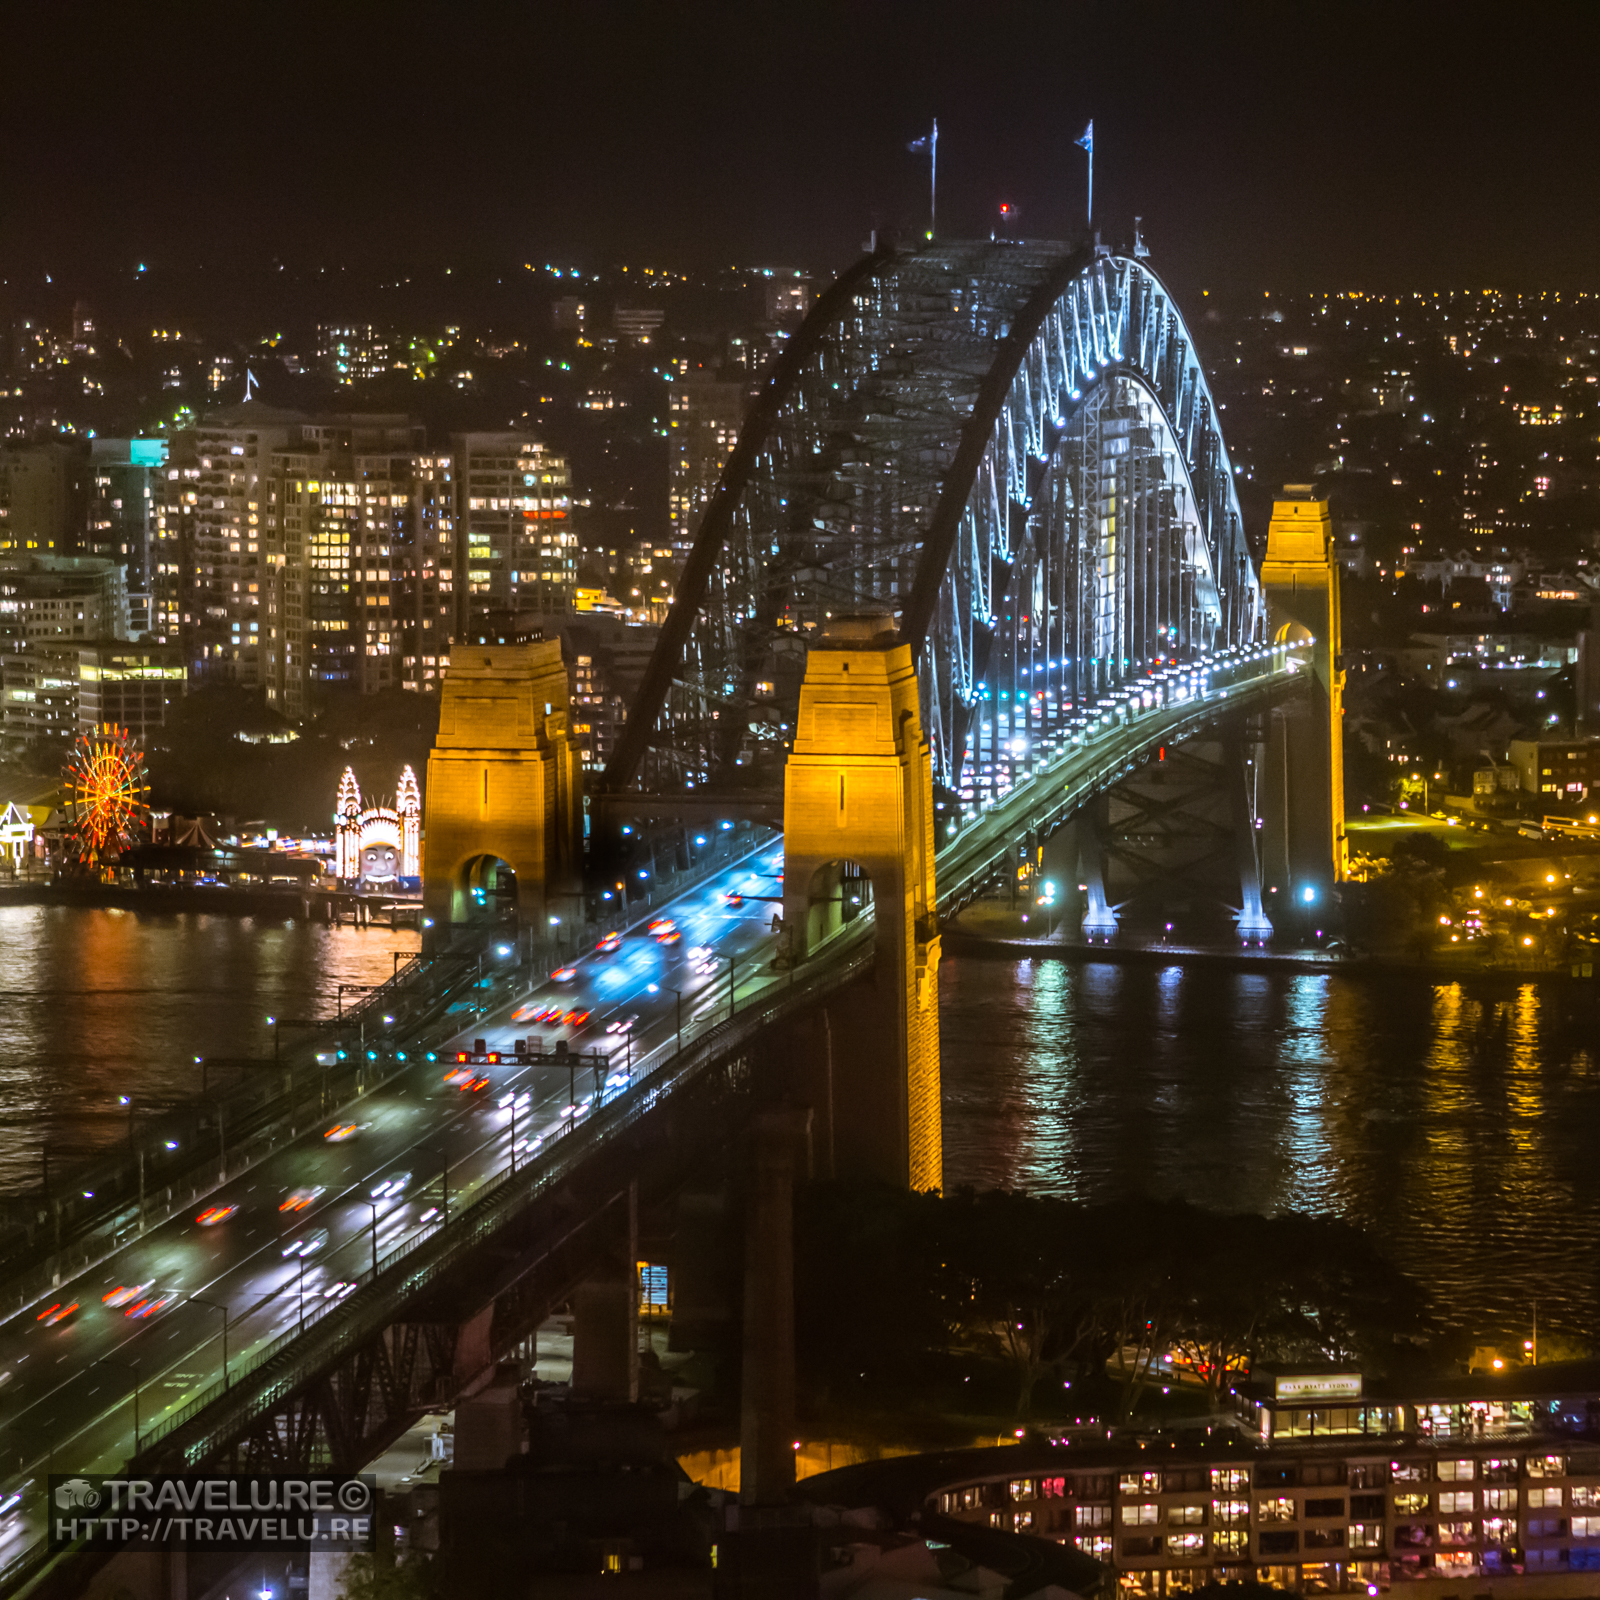
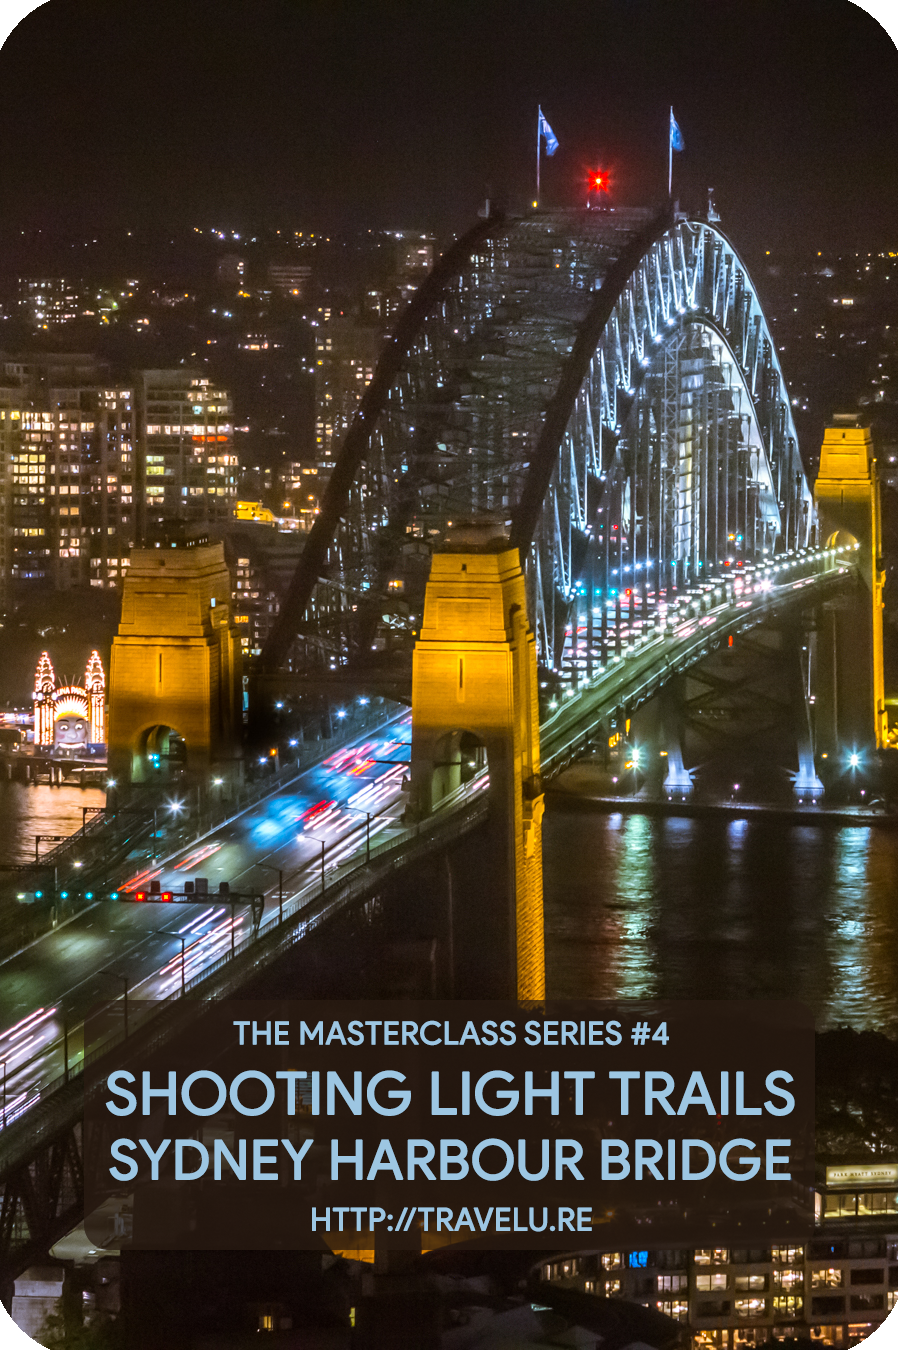
Shutter Speed: 0.3 secs; ISO: 1600
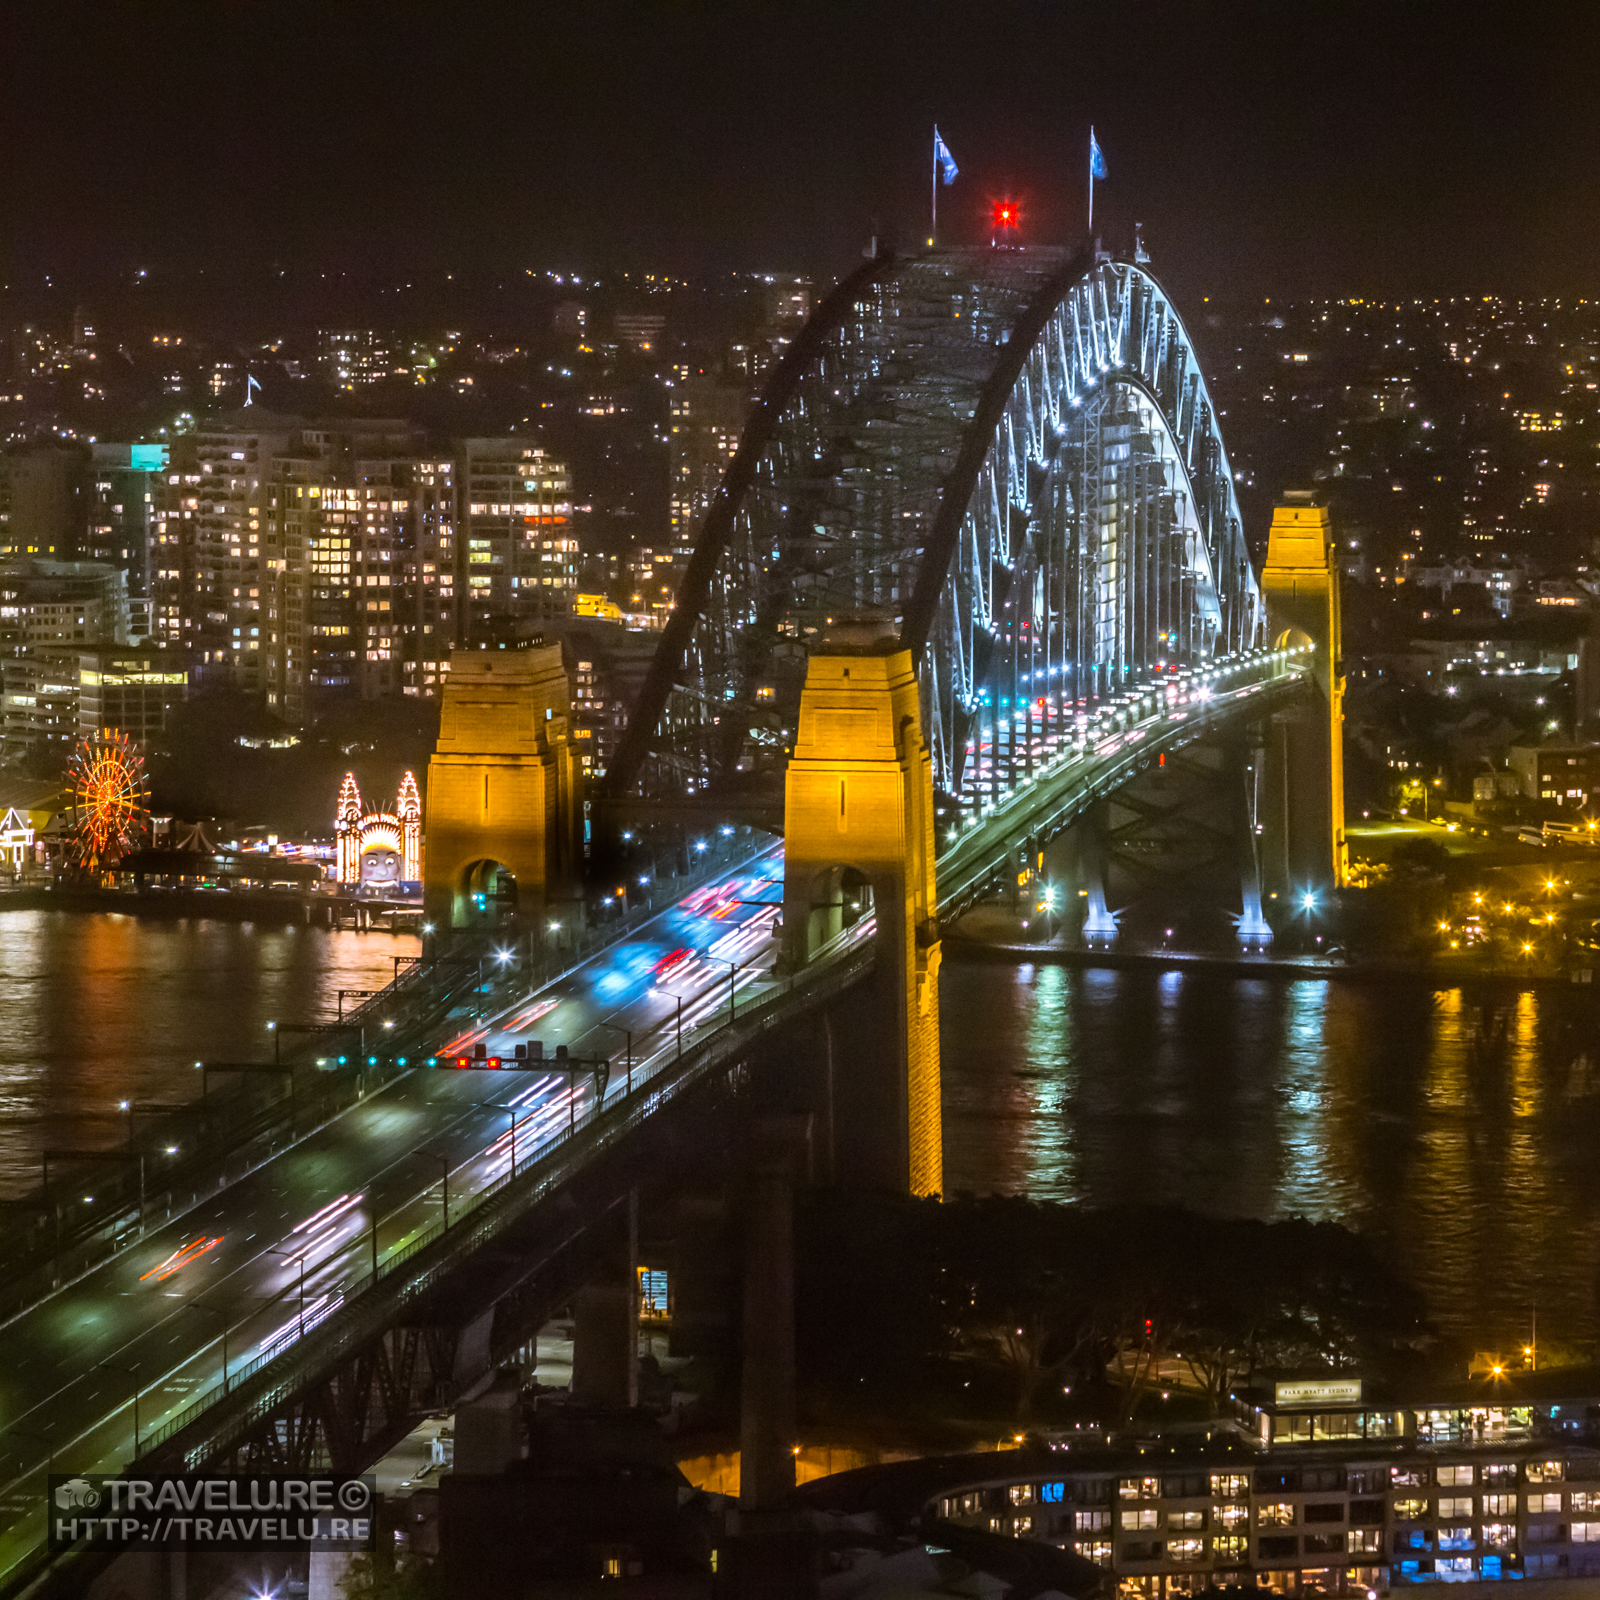
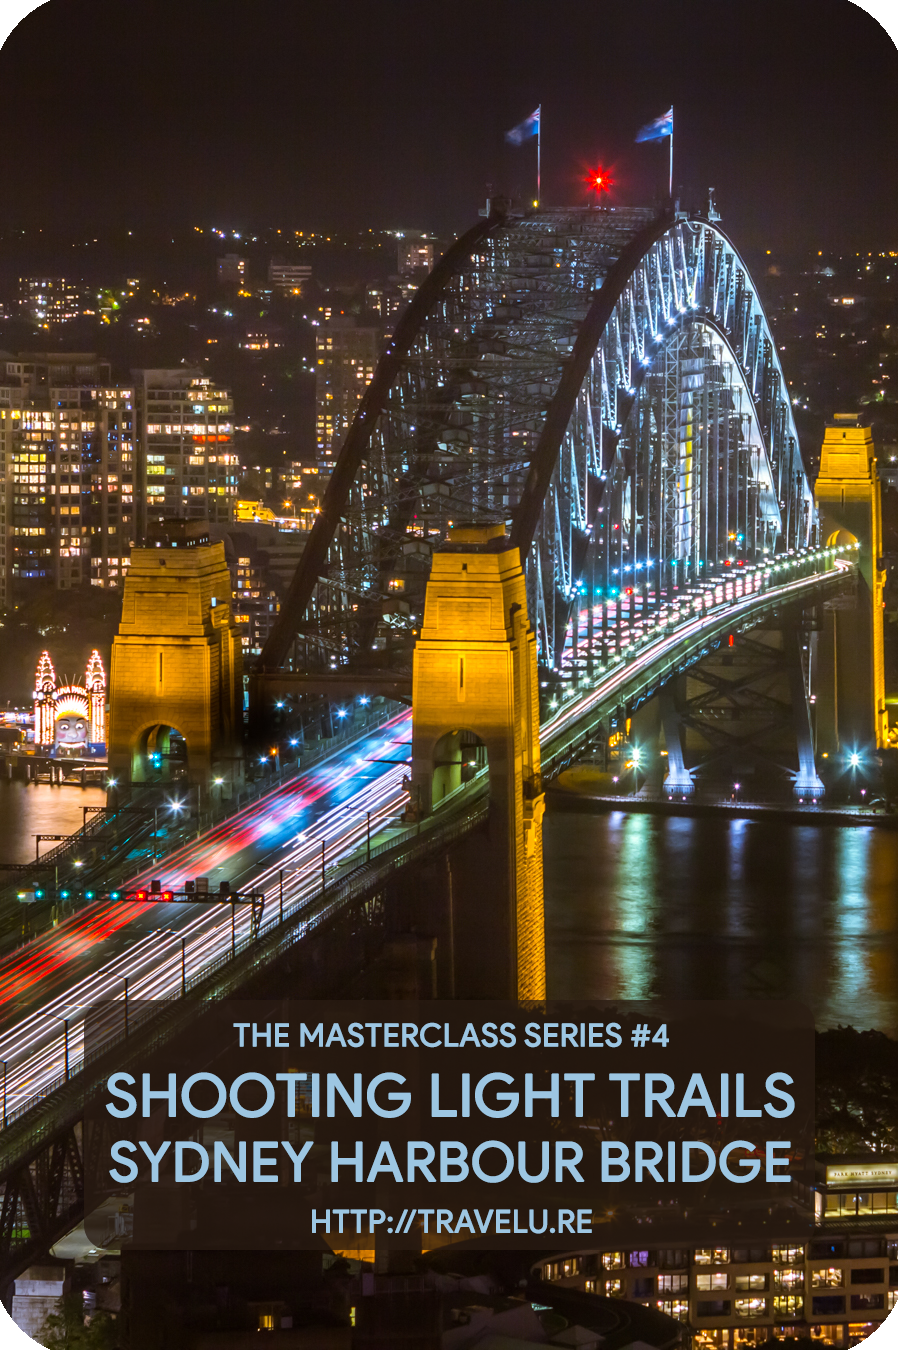
Shutter Speed: 1 sec; ISO: 1600
The shot
I addressed the light glare through jugaad (make-shift innovation) by switching off the room lights, positioning the tripod so my lens hugged the windowpane, and wrapping the tripod, camera and myself in the curtain.
A few shots are all it took before zeroing in on the settings for smooth light trails across the bridge. I started with ISO 1600. And realised in 2-3 shots it would lead to burnouts. Initial shots were on a wider focal length (63mm).
During test shots, I narrowed the aperture from f/2.8 to f/8. I also figured for light trails to cover the bridge, the cars needed to cross the bridge. Given the traffic speed, the cars took about 13 seconds to paint seamless light trails. So, I took the final shot at those settings and cropped it square. The square composition allowed for a perfect diagonal that embellished the final shot.
While editing, I reduced the highlights, controlled the whites, and enhanced the saturation. I also adjusted the white balance (3300K) to account for the mixed lights (fluorescent and tungsten). Here is the result.
Two things matter in addressing this challenge. First, figure out the shutter speed on which light trails will seem seamless. And second, composing the shot despite constraints. I have always found it useful to address these and get an eye-pleasing shot. You may have a look at another dramatic use of light trails HERE.
Next week, be back to lick another challenge.
📷 The Masterclass Series
This post is one of 26 field-tested techniques documented across 45+ countries and 110 UNESCO World Heritage Sites.
Each tackles a specific photographic challenge — the kind that shows up at 5am in front of an illuminated cathedral, or in the fraction of a second before the moment is gone.
The full index is here. Bookmark it.
Want to save this for later? Pin it!


")
